The Secret Bookcase Door
How I built a clandestine entrance to a hidden room.
I'll start with a big shout-out to the main guide for this project...
The Crafty Catsman. I basically followed his guide and methods to contructing the frame and bookcase (the carcass, as is cool to call it). I didn't follow his procedure exactly all the way through. The main differentiating factor is that I'm using the InvisiDoor Hinge Kit, and they have some of their own guidlines for contruction of the apparatus. My approach is a combination of (mostly) Catsman's and the docs from the InvisiDoor guys. (Catsman uses Tambee Door Pivot Hinges).
Also, for the latch mechanism, I basically used the method described by the guy in LBCC Construction 101, in his yourtube video HERE.
It's also important to note that I'm doing this in Thailand, where we don't always have access to good, ready-to-go materials, among other things. So we have to adapt to what we can have!
So here we go... let's see how we got it done!
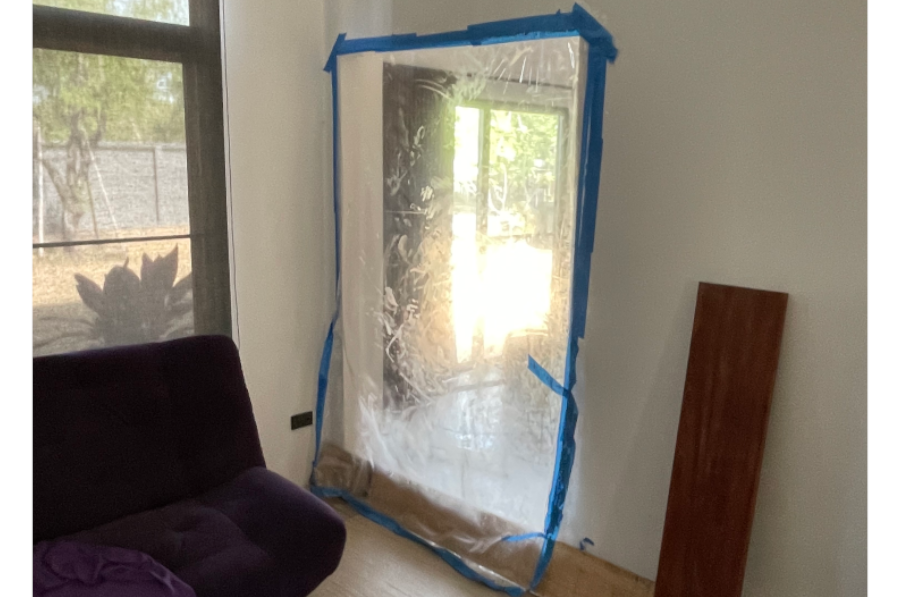
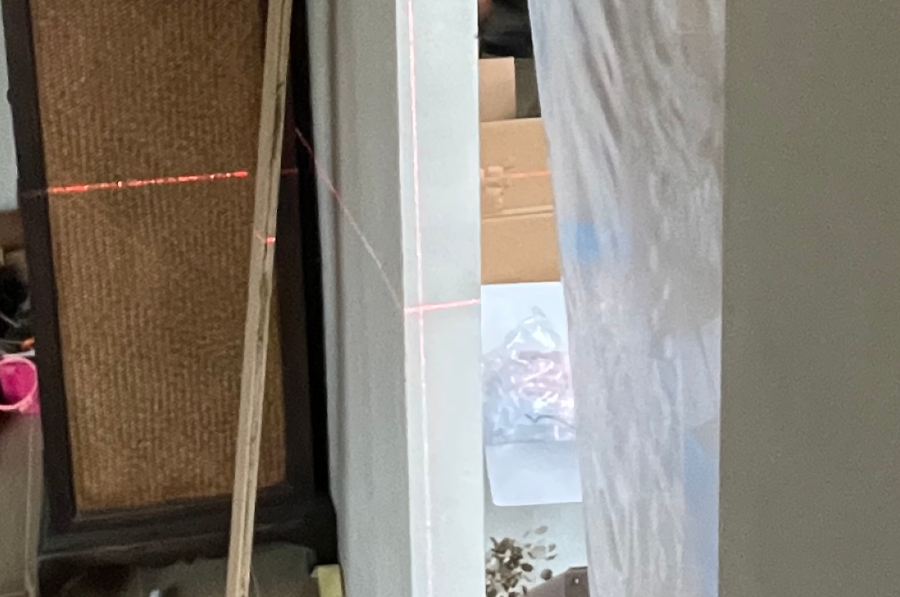
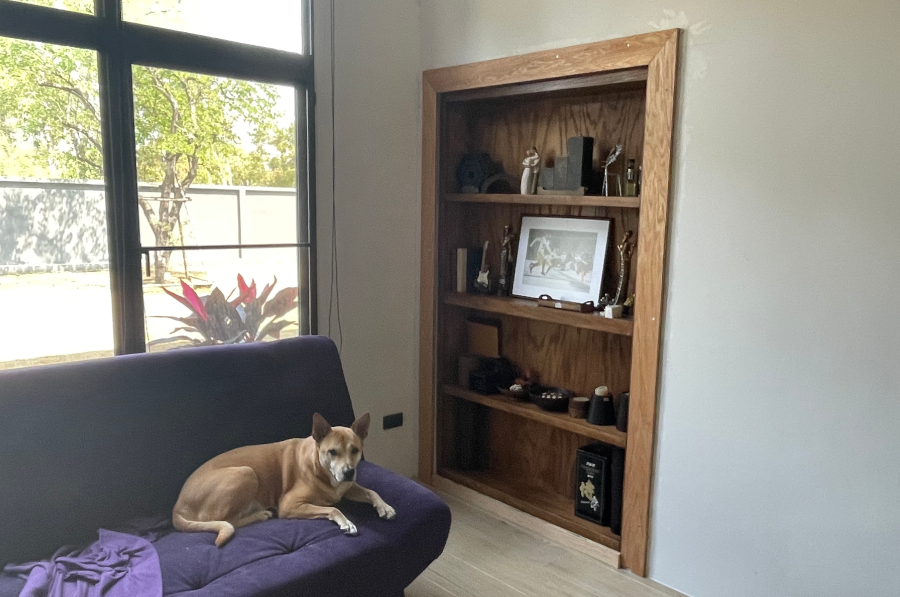
1. The Opening
Here's where the secret door will go.
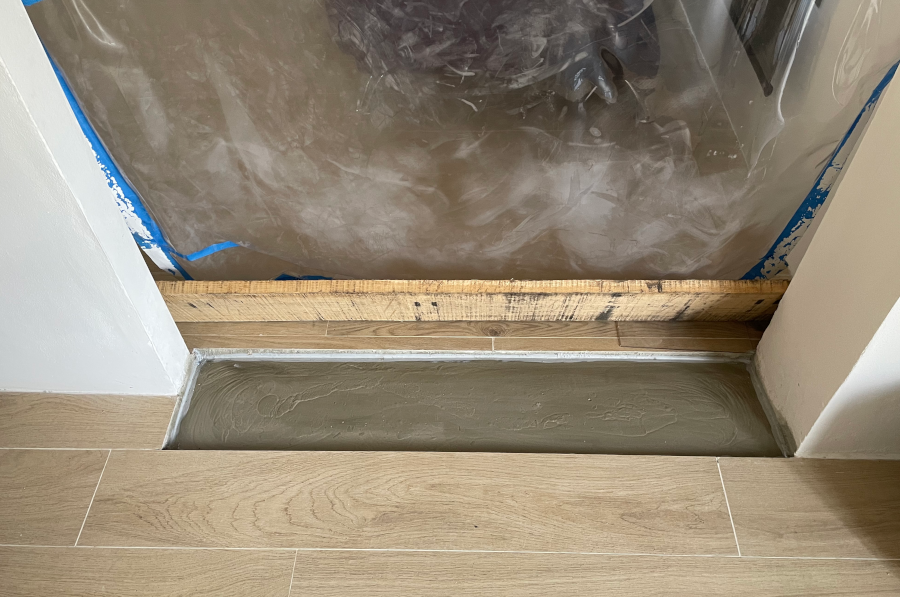
2. The Threshold
Dealing with the floor.
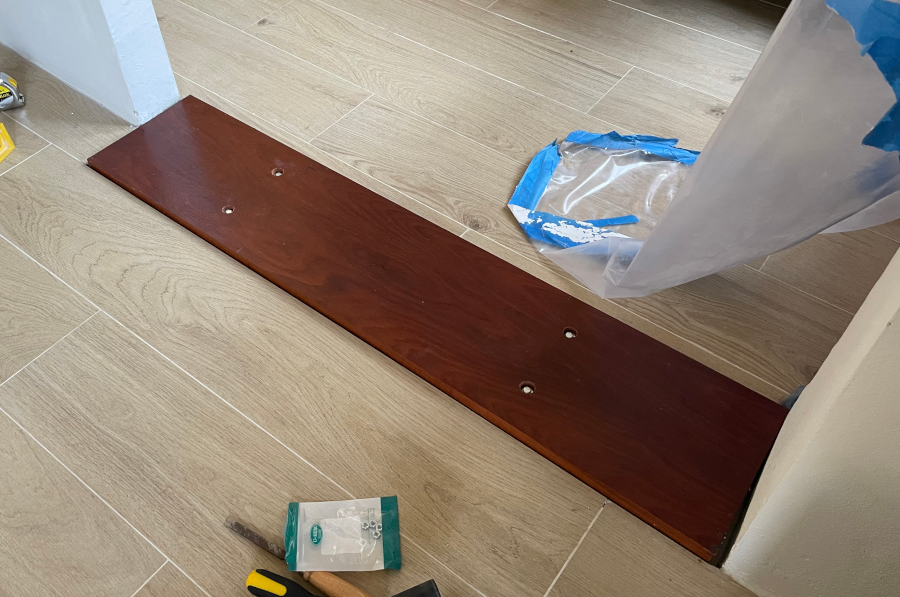
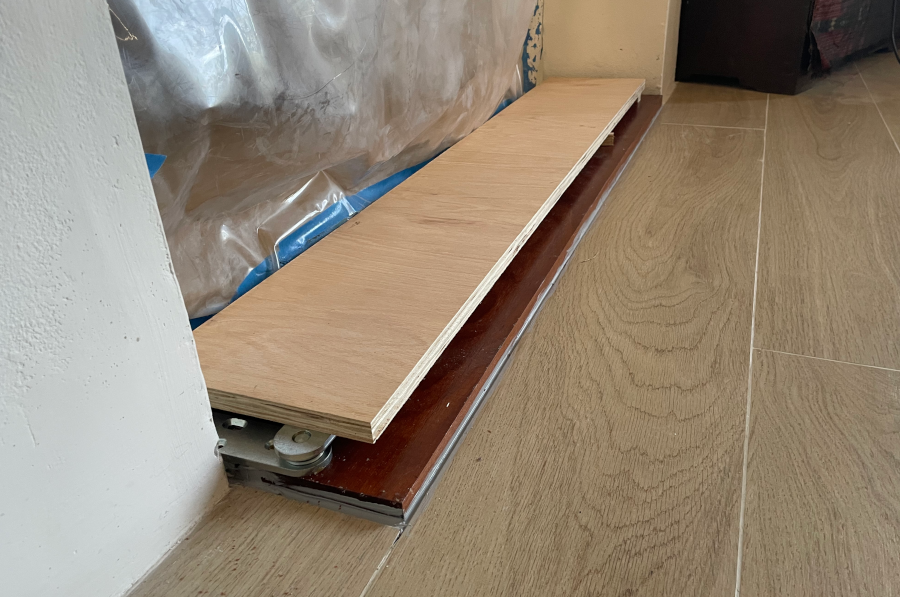
3. The Sill
The base for the Secret Door.
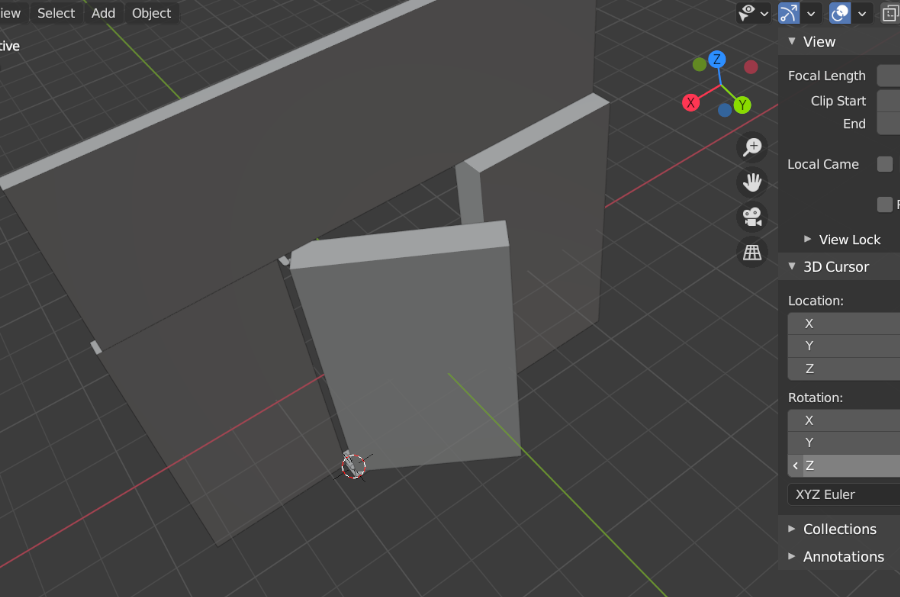
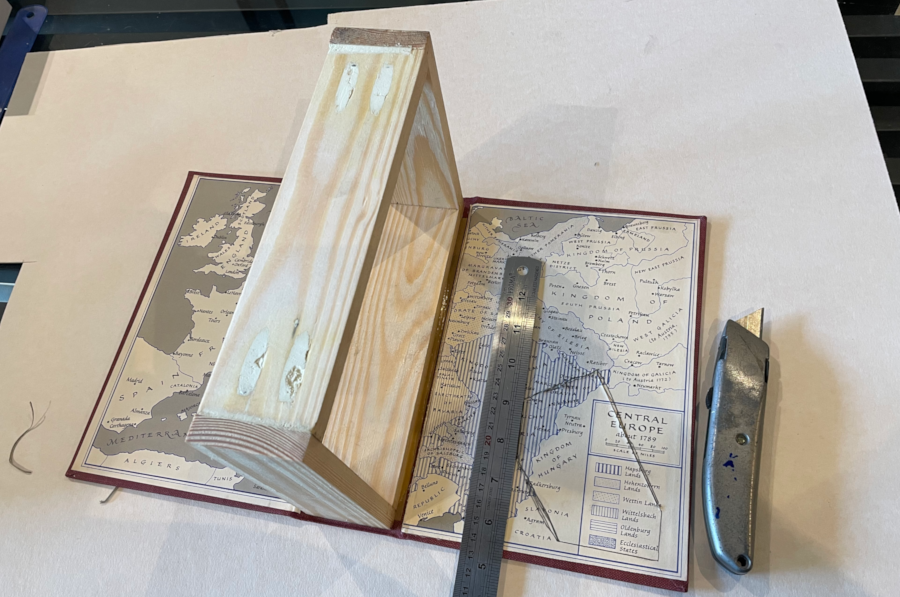
4. The Model
The Design for the Door.
5. The Test
Will it open and close properly?
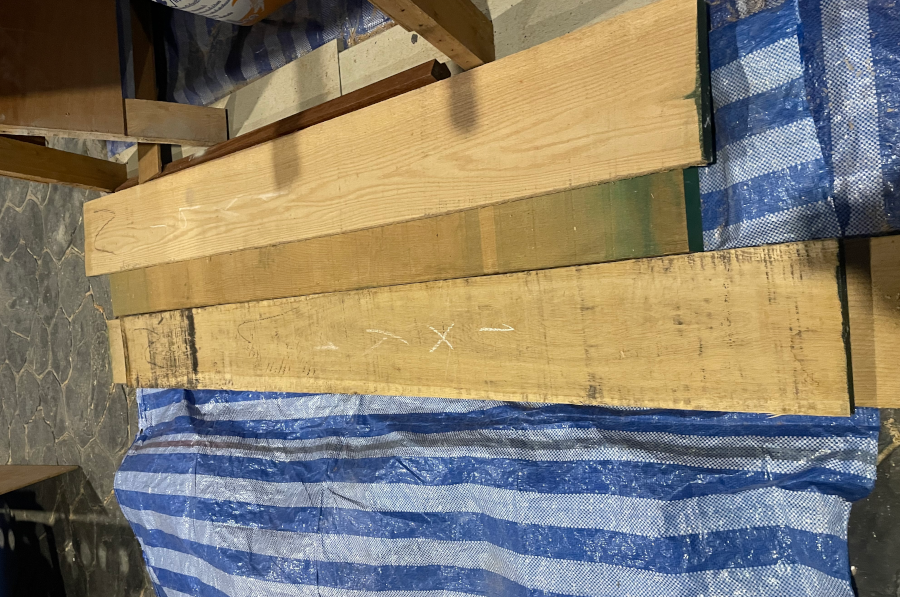
6. The Wood
The lumber I had to work with.
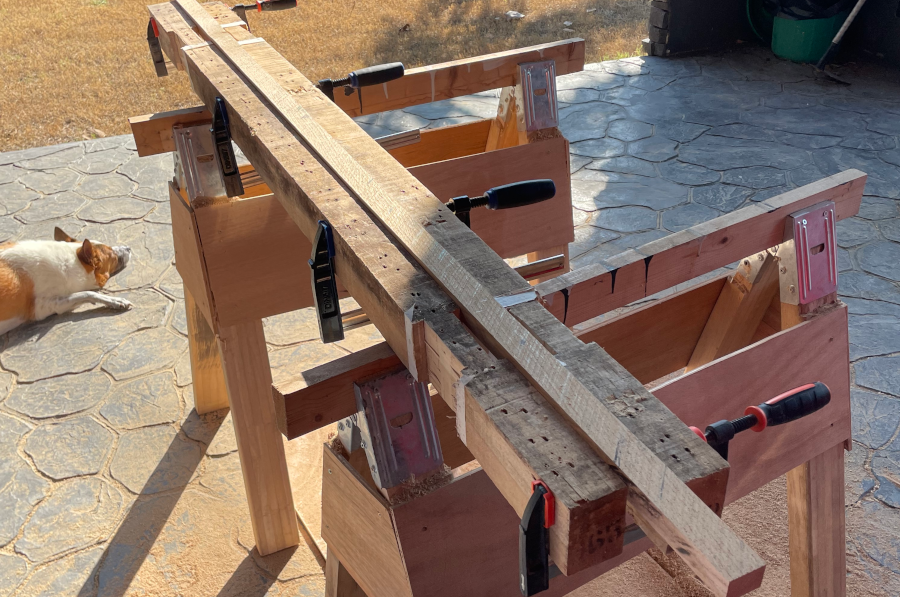
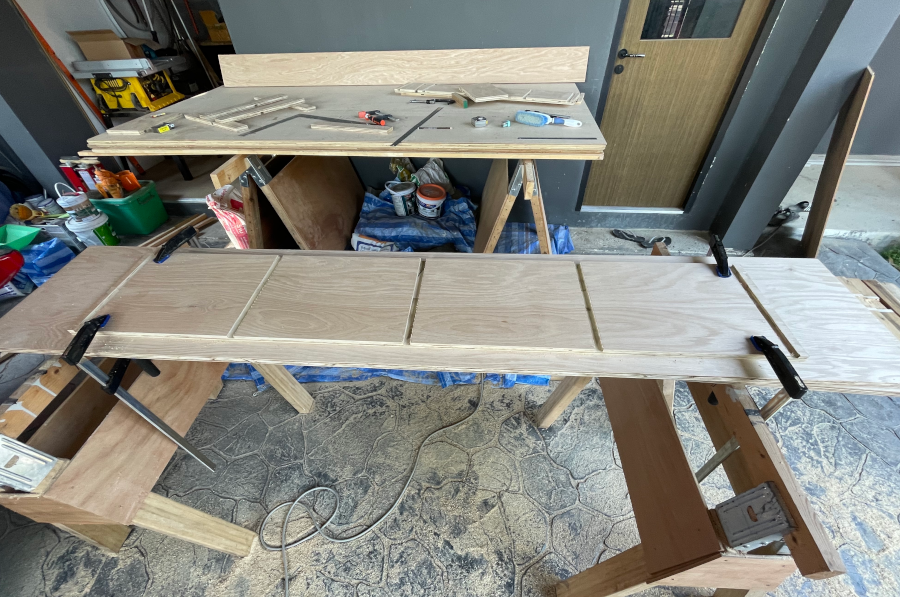
7. The Stiles and Rails
Making the Stiles and Rails.

8. The Frame Assembly
Putting the Frame Together.
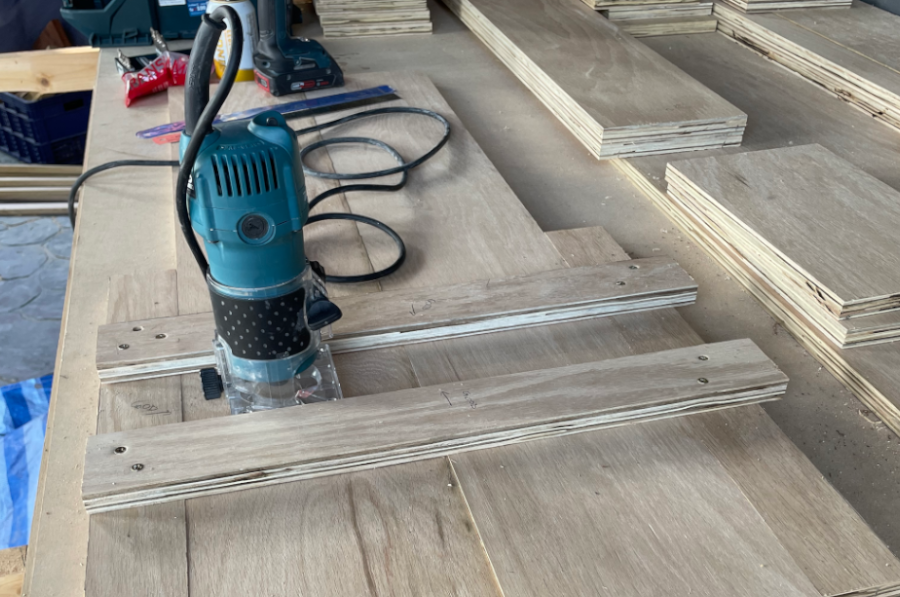
9. The Dado Jig
My makeshift Jig for Cutting the Case Dados.
10. The Dados
The Case Dado Cuts.
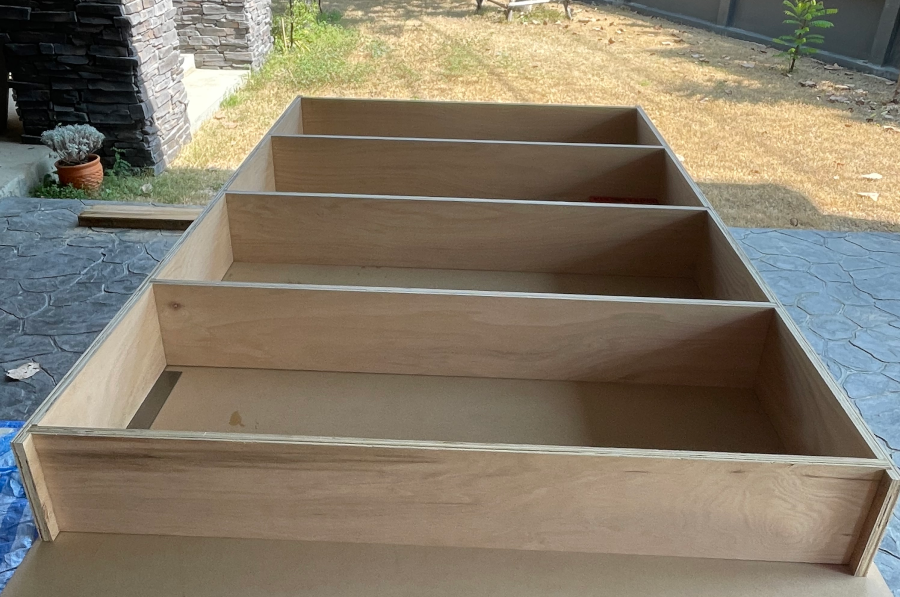
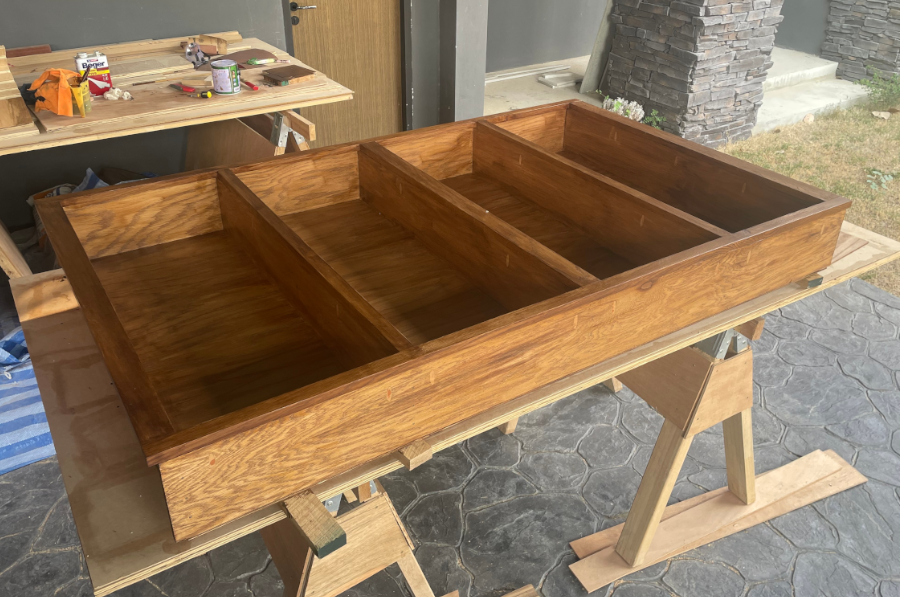
11. The Case Assembly
Putting the Case Sides and Shelves Together.
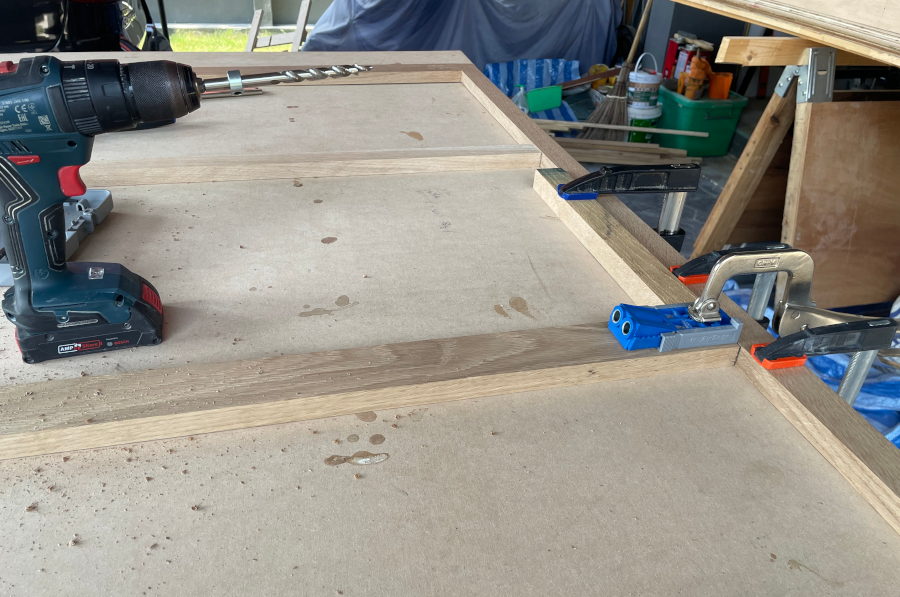
12. The Face Frame Pt. II
Completing the Face Frame Assembly.
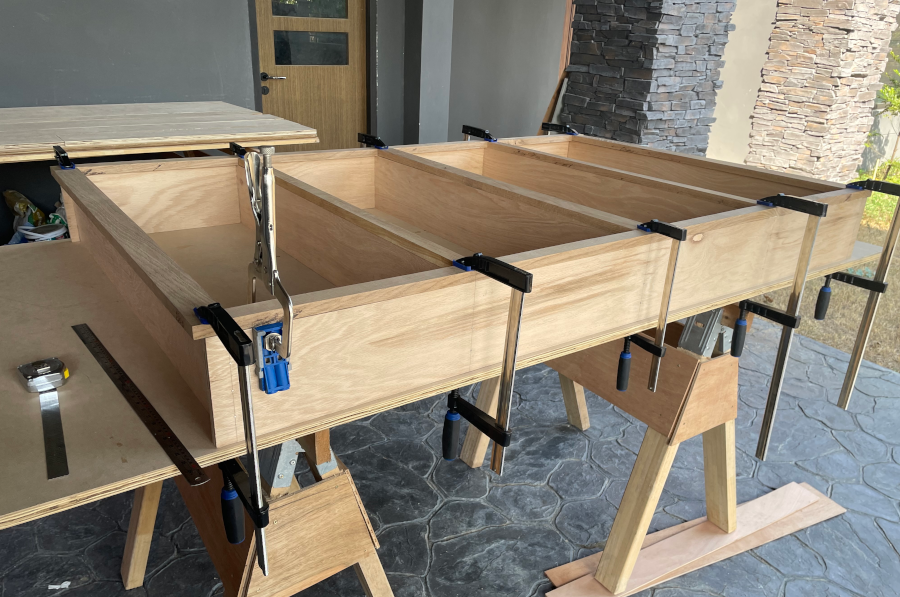
13. The Frame Meets the Case
Marrying the face frame to the carcass.

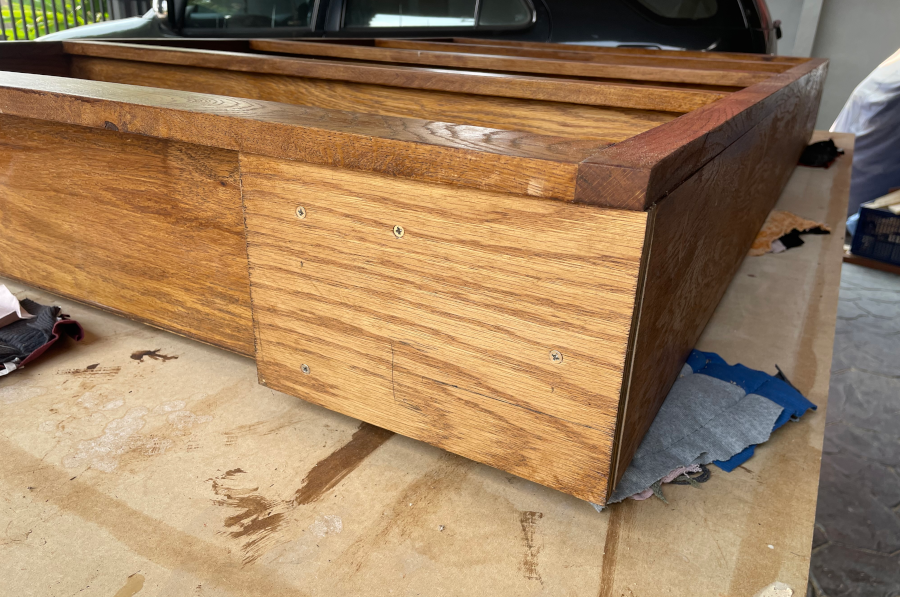
14. The Back
Attaching the back panel.
15. The Finish
Finishing the Bookcase.
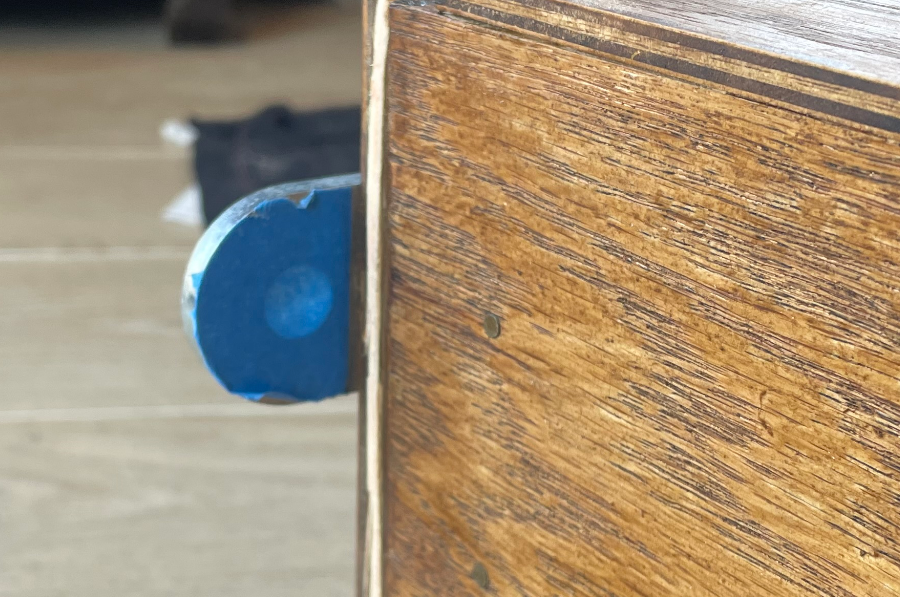
16. The Bottom Mounting Block
Where the bottom pivot hinge will be mounted.

17. The Top Mounting Block
Where the top pivot hinge will be mounted.
18. THE SCREW UP
Almost a show stopper!!!!!
19. The Fix.
You ain't a beauty but hey, you're alright.
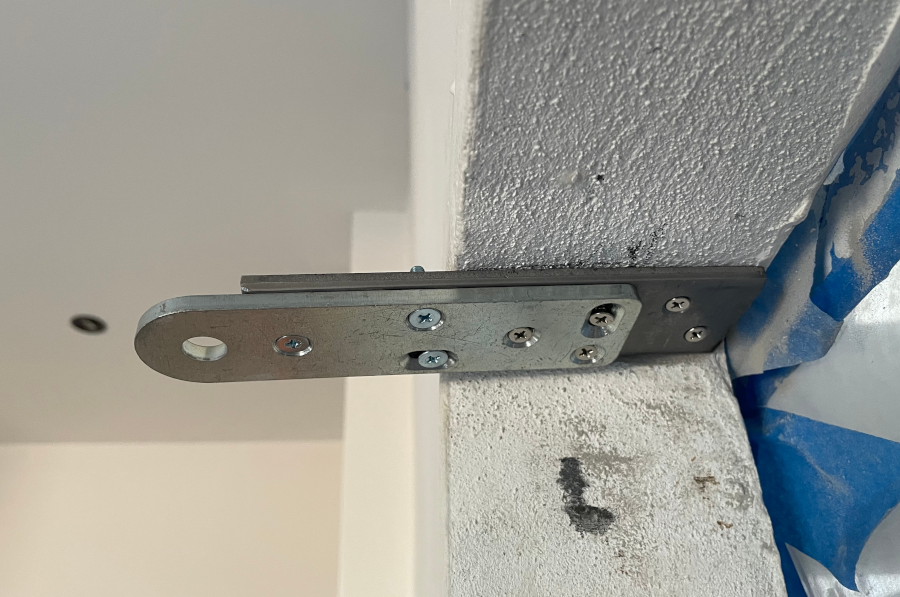
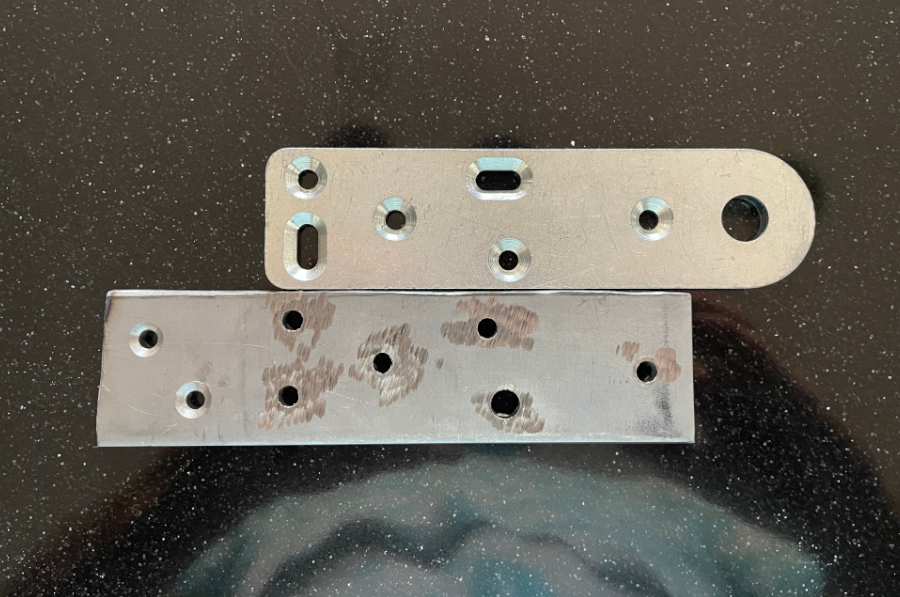
20. The Mounting.
Installing the hinge plates to the jamb.
21. The Case Hinge Plates.
Attaching the hinge plates to the case.

22. The Hanging.
Here goes nothin'.
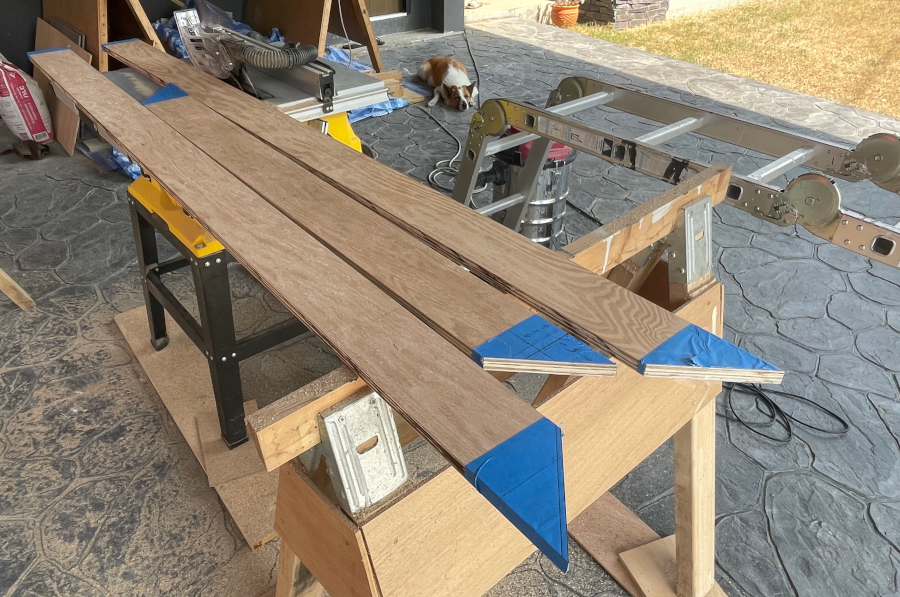
23. The Frame.
Cutting the frame boards.
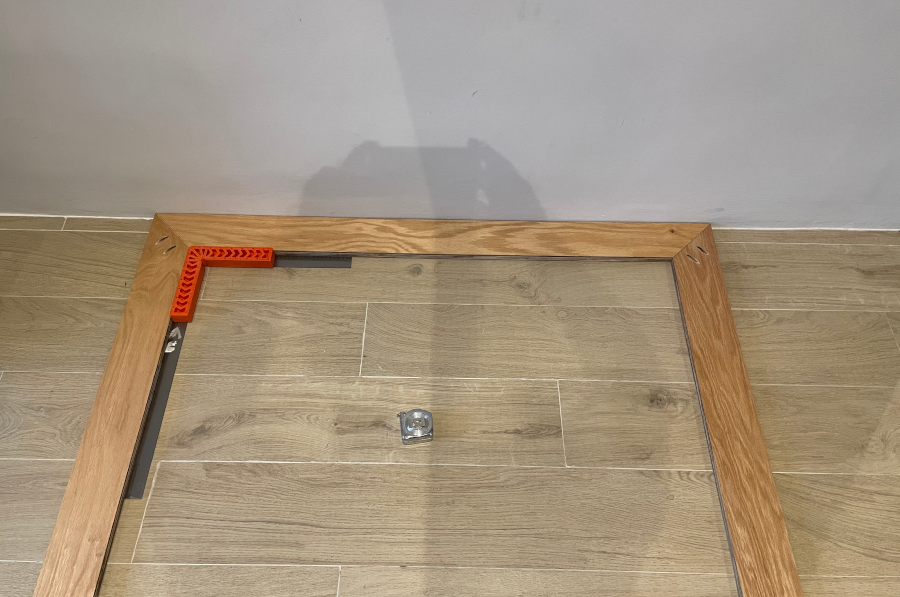
24. The Assembled Frame.
Putting it together.
25. Almost Done....
The final few steps took the longest.
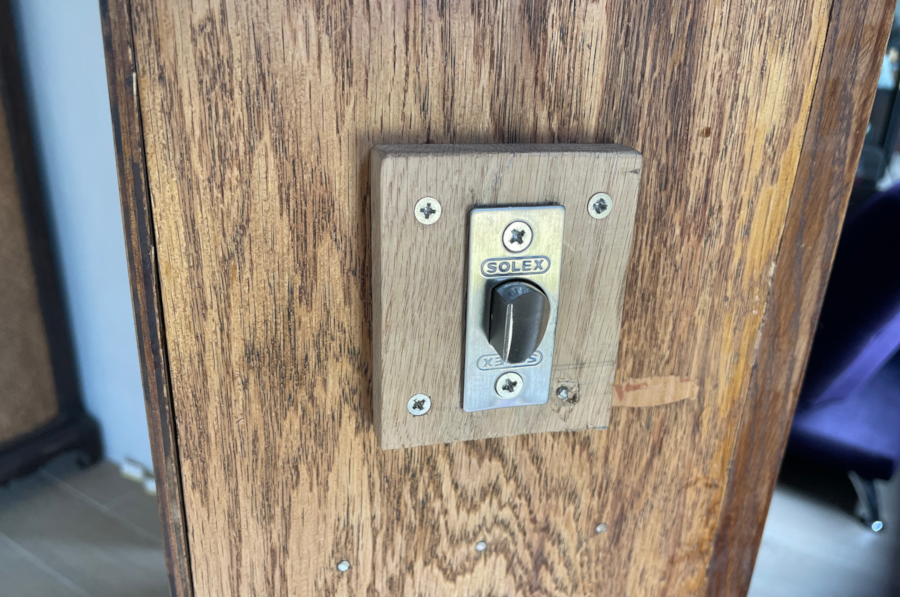
26. The Apparatus....
Gonna need a way to open this thing....
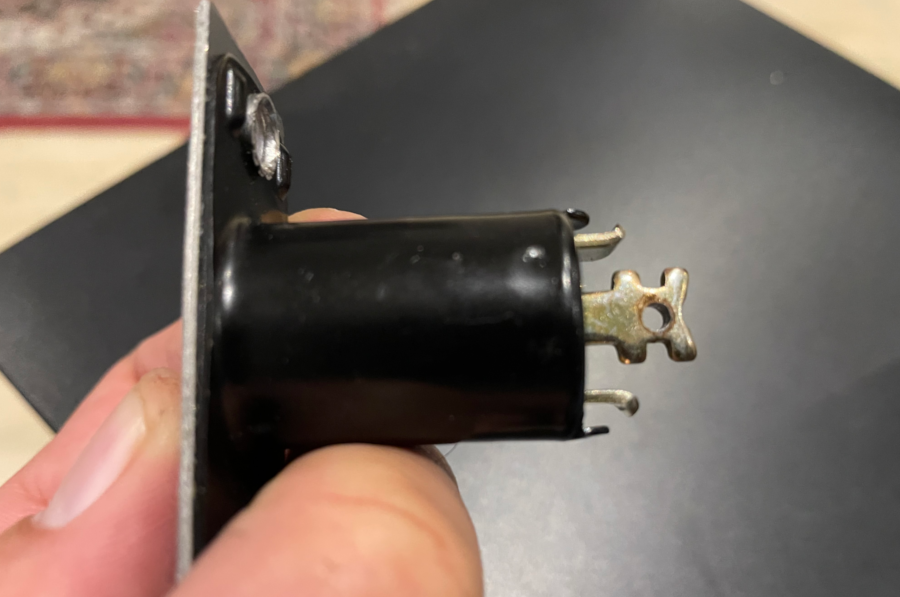
27. The Latch Bolt....
This came from a standard doorknob set....
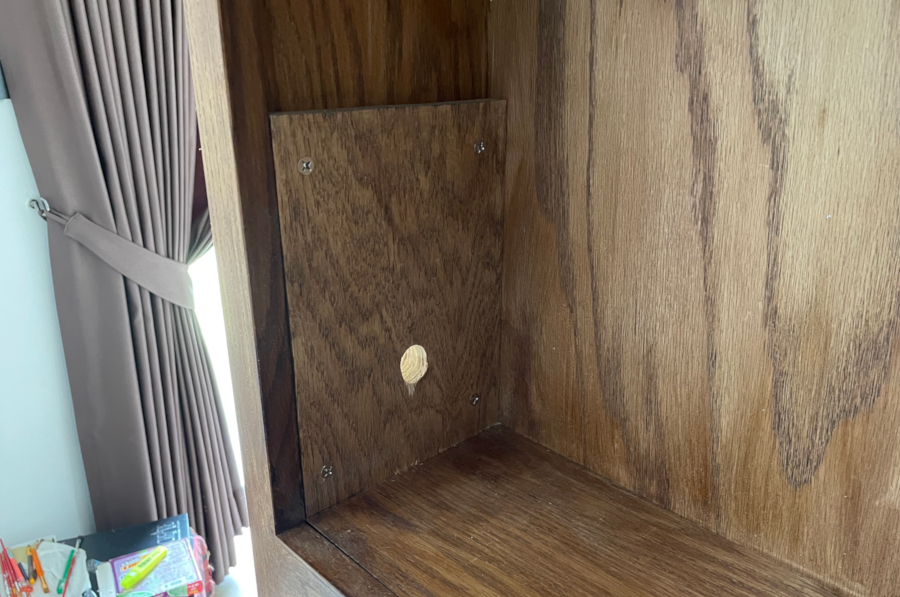
28. Beefing Up The Cabinet wall....
Making the wall a bit more stout to hold the bolt....
29. Fixing the Bolt....
Installing the latch bolt....
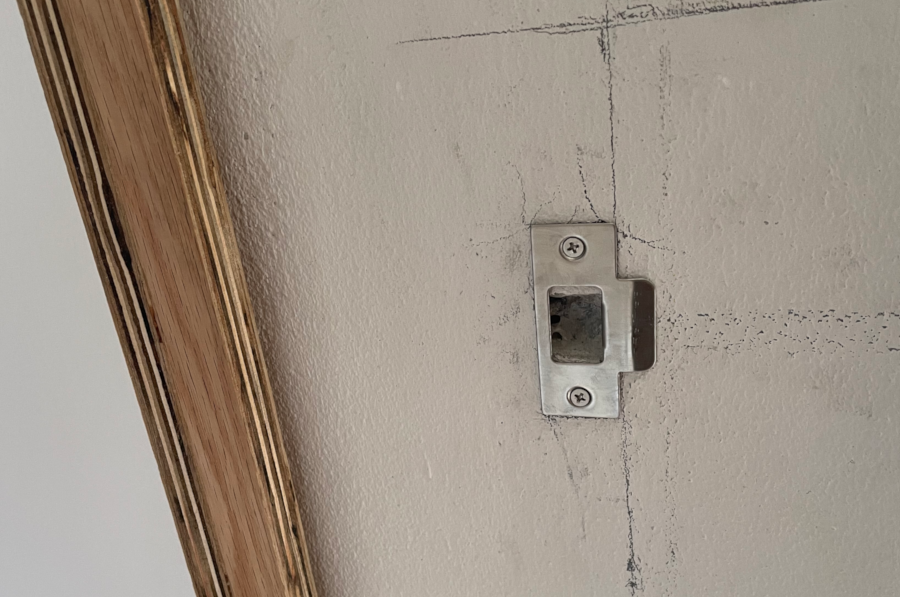
30. The Strike Plate....
Giving the latch a hole to find....
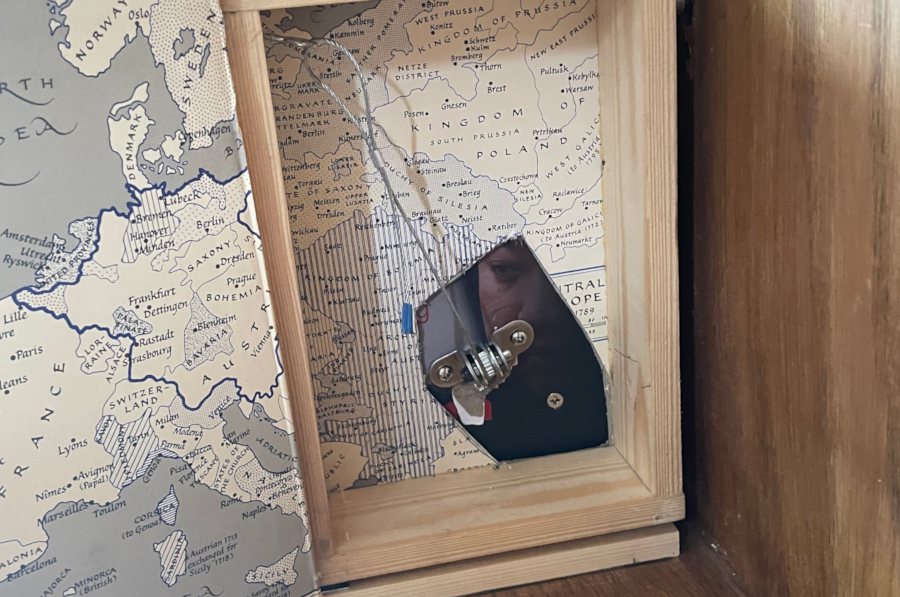
31. The Rigging....
Setting up the latch-puller....
32. That's pretty much it....
We're up and running....